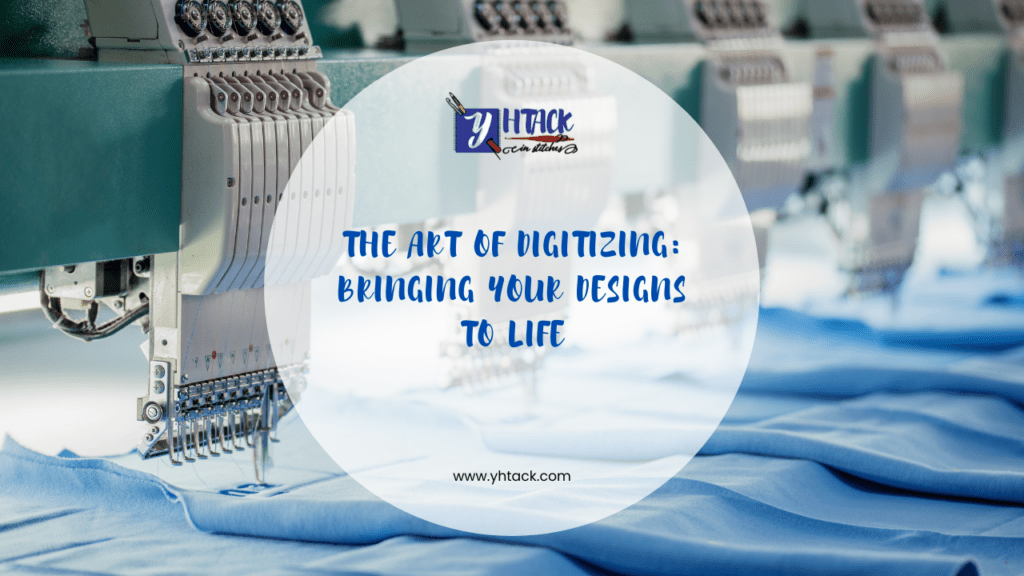
The Art of Digitizing: Bringing Your Designs to Life
Embroidery has long been a favorite method for adding custom designs to clothing and accessories. However, the process of turning artwork into embroidery is far from simple.
It requires careful digitization to ensure that the final stitched design accurately represents the original artwork while also working seamlessly with embroidery machines.
Whether you’re a business aiming to create branded merchandise or an individual looking to personalize items, understanding the art of digitizing is essential to bringing your designs to life.
Process of Digitizing Artwork for Embroidery
Digitizing artwork for embroidery involves a series of steps to ensure that the design is both visually appealing and technically sound. Here’s a step-by-step guide to the process:
Prepare the Artwork
The first step in digitizing is preparing the artwork. This might involve scanning or photographing hand-drawn designs and converting them into high-resolution digital formats. It’s crucial to clean up the artwork to ensure there are no unnecessary details that might complicate the digitization process.
Select the Right Stitch Types
Once the artwork is ready, digitizing software is used to convert the image into stitches. The design is broken down into different parts, and each part is assigned a specific stitch type, such as satin stitches for borders, fill stitches for areas of color, and running stitches for outlines or details.
Determine Stitch Direction and Density
After the stitch types are chosen, the next step is to set the stitch direction (how the stitches will follow the shape of the design) and stitch density (how tightly or loosely the stitches will be).
The density needs to be adjusted for the fabric type to ensure the embroidery is neither too dense (which can cause puckering) nor too sparse.
Adjust for Fabric and Thread
Different fabrics and threads behave differently during embroidery. Digitizing for specific fabric types such as cotton, denim, or silk requires adjusting stitch density and direction.
Additionally, thread colors are selected to match the original artwork, and the right type of thread (e.g., polyester or rayon) is chosen based on the fabric and design.
Run a Test Stitch
A test stitch is then run to assess how the design looks on fabric. This allows for adjustments to be made before the final stitching begins. It’s critical to evaluate the stitch quality, fabric behavior, and thread tension during this step.
Finalize the Design File
Once the test stitch is approved, the final digitized design is saved in a machine-readable format, such as .DST or .PES. This file can now be used with embroidery machines to bring the design to life.
The Key to Perfect Embroidered Designs: Understanding the Digitization Process
The key to achieving perfect embroidered designs lies in understanding the digitization process. Poorly digitized designs can result in inconsistent stitching, incorrect color placement, or distorted patterns.
By mastering the nuances of stitch types, direction, density, and fabric compatibility, you can ensure your designs come out looking polished and professional.
Additionally, it’s important to consider how the design will be scaled. Larger designs may require different stitch adjustments compared to smaller ones. A successful digitization ensures that the design remains clean and crisp, even when resized.
Custom Embroidery that Bring Your Artwork to Life with Precision Digitization
Custom embroidery is an excellent way to showcase unique artwork, whether for promotional purposes or personal use. With precision digitization, your artwork can be translated into stitches with remarkable detail.
Here are a few examples of custom embroidery projects brought to life with precision digitization:
1. Custom Team Logos
A local sports team can have their logo digitized to create embroidered merchandise like hats, jackets, and shirts. The team’s logo is converted into a stitch file that ensures consistency across all items.
For businesses, digitizing your logo for embroidery is essential for creating consistent, high-quality branding across merchandise and uniforms.
A digitized logo can be easily reproduced on a variety of materials, from t-shirts to hats, without losing any of the original design details.
2. Personalized Gifts
For a unique gift, a custom illustration or text can be digitized and embroidered on items like blankets, tote bags, or cushions. The artwork remains sharp and vibrant, even on fabric.
3. Corporate Branding
A company can have their logo or tagline digitized for embroidered uniforms, bags, and promotional items. Precision digitization ensures that the company’s logo is always represented in the best light, regardless of the fabric or item.
Conclusion
Digitizing artwork for embroidery is both an art and a science. It requires knowledge of stitching techniques, fabric behavior, and digital tools to create designs that are not only visually striking but also functional for embroidery machines.
By understanding and mastering the digitization process, businesses can create consistent, high-quality branding, while individuals can bring their custom designs to life.
Whether you’re creating custom embroidery for personal projects or business branding, embracing the art of digitizing ensures that your designs are executed with precision and beauty.
At Yhtack in Stitches we provide embroidery, digitizing, crocheting, knitting and monogram services.
If you want to learn more about custom embroidery for you, contact us at 202-743-0055 and we’ll be more than happy to help!